I finally jumped ship and ditched Windows Vista. I am now a Mac convert happily running OSX Leopard 10.5.5 on my hackintosh.
Well actually I made a compromise and went with dual booting Windows XP and Leopard. I won’t lie and said the switch was smooth sailing. I had to do a lot of googling to get Leopard working as it should.
I am by no mean an expert in the scene but I managed to learn a few things as I stumbled through the process.
In this guide I will try to recollect some of the finer points that I wish I knew before taking the plunge. Lets just say I was hasty and didn’t really do my homework like I should have. There was a lot of frustration, names calling and pleading to the OSX deity.
Introduction
Unlike Windows, OSX comes preinstalled on computers with proprietary hardwares. It would take a lot of effort to be able to pop in the DVD and install Leopard on your PC. Luckily there are OSX enthusiasts out there that are willing to put in the time and effort to make this possible. See http://www.osx86project.org/
Currently the two most popular groups involved in this endeavor are iATKOS and Kalyway.
The kernel is the heart of the operating system, OSX’s kernel was made with specific drivers to work with a mac’s hardware. In order for OSX to work on a normal PC it would need kernel extensions (drivers) for the specific hardware on the PC. This is where iATKOS and Kalyway comes in, they provide a packaged patched DVD of the Leopard installer with these extra kexts.
OSX’s vanilla/stocked kernel work perfectly with a Core Duo/ Core 2 Duo CPU and a motherboard running the Intel chipset. For other CPUs and chipset a patched kernel is required.
The latest version of each dvd is iATKOS 5i 10.5.5 released on 11/29/2008 and Kalyway 10.5.2 You can easily find it on your favorite torrent tracker.
I went with iATKOS 5i so my guide will be more geared toward that release.
More information regarding iATKOS can be found at http://iatkos.wikidot.com and http://www.uphuck.com/
Preparation
This is more orless of list of what I wish I had done before I wiped my hard drive 😦
1. Backup of important files & documents
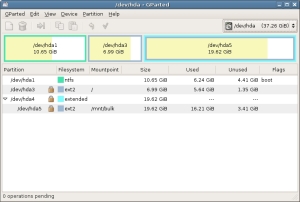
2. GParted Live CD (let you create and change partitions info)
More screenshots available at http://gparted-livecd.tuxfamily.org/screenshots.php
3. Windows CD
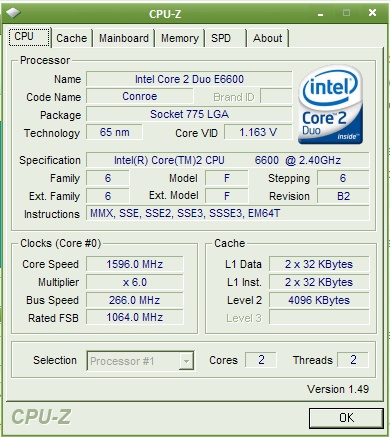
Before getting to the installation part you must do some ground work and retrieve a complete listing of the hardware on your PC. This include the CPU, motherboard, chipset, ethernet, sound card, video card etc. Aside from ATI/Nvidia drivers the patch DVDs comes with a very limited set of drivers for the other hardware types and manufacturers. There are many way to go about acquiring this list, one solution is to use Everest, available at http://www.lavalys.com/ or CPUZ, available at http://www.cpuid.com/cpuz.php
The most important devices to get working first are your video card and ethernet drivers. With these 2 working you can spend time searching for the kexts of your other devices within Leopard.
Unfortunately not all hardwares are compatible with OSX for a smooth installation experience, check OSX86 Hardware Compatibility List at http://wiki.osx86project.org/wiki/index.php/HCL to see if your hardware is supported.
Installation & Configuration
Since I decided to dual boot Windows XP and OSX Leopard together I completely wiped my Vista partition and started fresh with an installation of Windows XP.
Once XP finished installing I used CPUZ to look up specific details about the main devices on my computer.
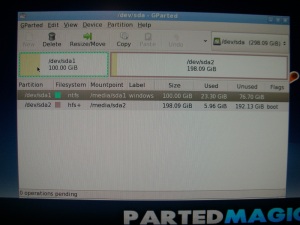
Next I booted up with the Gparted live cd and created a 2nd primary partition of my main hard drive and formatted it as FAT32. Since I am setting up for dual boot I chosed MBR (Master Boot Record) for my partition table. The other available option was GUID (Globally Unique Identifier), this is mainly used if OSX is the only OS on the system. The reason for formatting the partition as FAT32 is so that Leopard’s Disk Utility application will be able to recognize it.
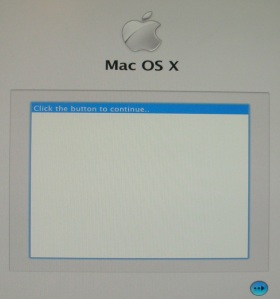
Once the partitions are created the next step is to pop in the iATKOS 5i DVD to begin the actual installation. The Darwin bootloader on the dvd will automatically start and after a minute or two you will see the click to continue screen below.
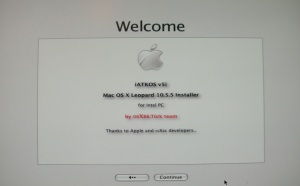
Next you will be prompted with the welcome screen.
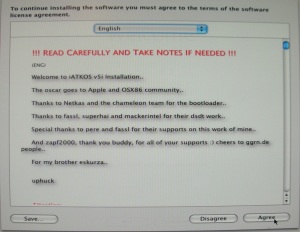
Click continue to go to the software license agreement.
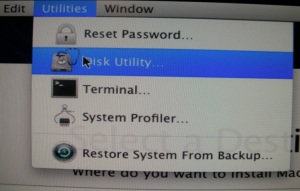
Before clicking on “Agree” you must use Disk Utility to prepare the partition you created earlier for Leopard. Go to the “Utilities” menu and choose “Disk Utility” see screen below.
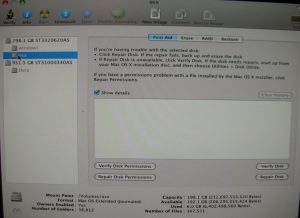
Locate the partition you created earlier, make sure its selected/highlighted. Next click on the “Erase” tab and choose HFS+ Journaled for the file system, give it a name then hit “Erase” to reformat the partition.
Once that’s completed, quit Disk Utility, the software license agreement will reappear. Click “Agree” to begin the next phase of installation.
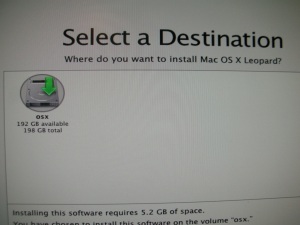
If the reformat worked as it should you should see the partition shows up on the “Select a Destination” screen. Select the partition you want to install Leopard to and click “continue” to proceed.
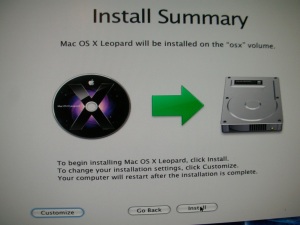
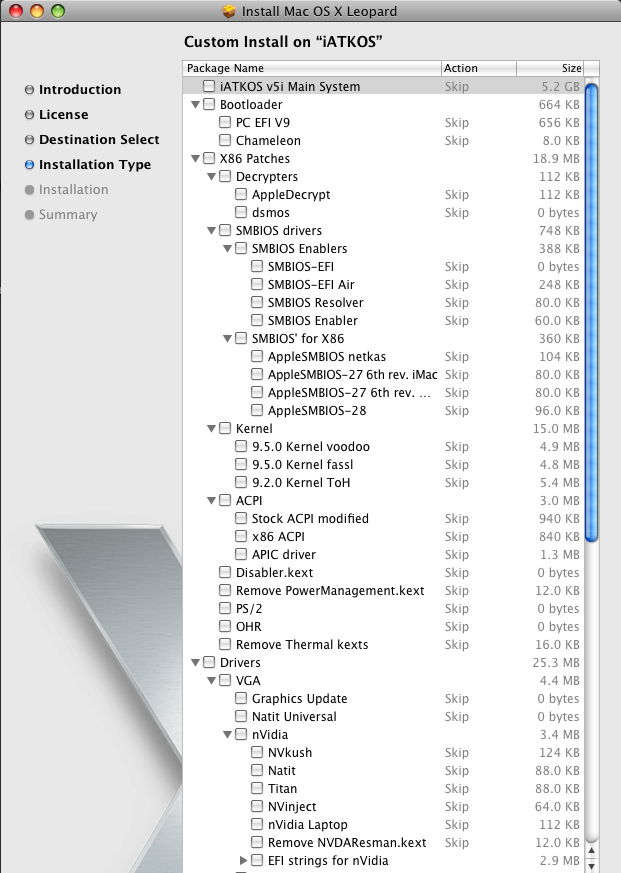
This is the most important part of the installation process. DO NOT click on “Install” right away. You MUST click on “Customize” to select the correct settings that will work with your hardware configurations.
Each item have sufficient description if you hover over it with your mouse. For my system I am able to use the Vanilla/stock kernel because I have an Intel Core 2 Duo CPU.
For the bootloader I went with PC EFI V9. I didn’t need any of the X86 patches, so that was left unchecked.
For decrypters I went with the default AppleDecrypt and default SMBIOS Enablers.
For the kernel I didn’t need a modified kernel so that was left unchecked.
I had all the ACPI options checked.
The next part is where you select drivers for your graphic and network card. I have an Nvidia 8800 GTS 512mb video card so I selected NVinject and the correct EFI string for my card.
Next choose the drivers for your network card. If you’re lucky your network card will work right out of the box but for those that doesn’t you’ll need to locate and install the correct kext for it once you boot into Leopard. It goes without saying that you need to do this on a different computer with internet access.
I use OSX86 Tools to install the kexts for my network and soundcard. Its extremely easy and you don’t have to bother with the terminal commands. Get OSX86 Tools at http://pcwizcomputer.com/osx86tools/
Once you have selected the correct drivers for your system click “install” to start the installation. You might not get it correct the first try so if it doesn’t boot just restart and boot from the DVD again and try a slightly different setup. Make sure you uncheck everything else and only install what you think will work.
Post Installation
Dual booting Windows XP & Leopard
Go to http://wiki.osx86project.org/wiki/index.php/Chain0 to read up on chain0. With a simple line added to the Windows boot.ini you will be able to use the Windows boot loader to boot both Windows XP and Leopard.
Network Card
My network card didn’t work out of the box and neither of the drivers provided on the DVD worked so I had to hunt for the correct kext and installed it using OSX86 Tools. Do plan to spend a LOT of time browsing the Insanely mac forum @ http://forum.insanelymac.com
Sound Card
It took me a few days to figured out how to get sound working on my installation. http://forum.insanelymac.com/index.php?showtopic=32859 was a great resource. I used Taruga’s AppleHDA patcher version 1.20 along with a correct codec dump to get it working. Once you find the correct files for your soundcard DO NOT forget to install the AppleHDA kext first.
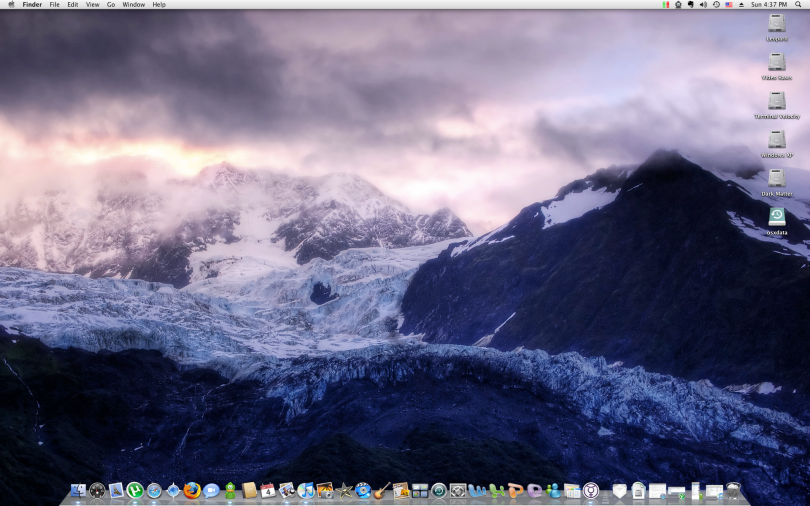
Last but not least below is a screenshot of my hackintosh running Leopard 10.5.5, a newer update 10.5.6 is out but I am holding off on the upgrade until there’s a detailed guide for it posted on the Insanely Mac forum. IF you have the urge to upgrade, DON’T because it will not work without the correct hacks.
I will definitely post more guides as I find my around this great OS.

